Resources
How to Replace the OGO™ Compost Toilet Wire Harness
Instructions to remove your old wiring harness, install the new one, and get your toilet system running clean, safe, and fully connected—no electrical experience needed.
Cut It Loose
Your old harness is zip-tied in.
Grab snips. Cut the ties.
Take your time—don’t nick the wires (even though you’re tossing them).
Pop out the bottom insert so you can get underneath.
Unplug Everything
Start at the top. That’s your button connection.
Unclip the yellow and green leads.
Now work your way down—red, yellow, green, black.
If the drain pan’s in the way, you can loosen it. Six screws, three on each side. You don’t have to take it off—just enough to make room.
Remove the Old Harness
Done unplugging? Pull the whole thing out.
Set it aside. Admire your handiwork.
Thread in the New One
The new harness may have extra stuff (like a fan)—don’t sweat it.
Start up top. Feed the wires through the small hole, one at a time.
Give yourself some slack so you’ve got room to move.
Plug It In
Yellow to yellow. Green to green. Red to red.
Make sure the fit is snug. Pull everything through cleanly.
Not zip-tying yet—we’ll get to that.
Final Hookups + Signal Check
Red = power
Black = ground
Green = trigger to timer
Yellow = signal from sensor
No sparks? No smoke? Great.
Once it all checks out, then go back and zip-tie the harness neatly into place.
Related Articles

Let’s Go Queensland Caravan & Camping Supershow

Hunter Valley Outdoor Show
How to Replace Agitator Cog in OGO Origin Solids Bin (Post August 2025)
How to Handle Urine Waste
Natures Head Weekender – Installation Manual and User’s Guide
Can I Use Anything Other Than Coco Coir in a Compost Toilet
Can I vent into the Existing Black Tank Vent
OGO Origin – Installation Manual and User’s Guide
Why Choose a Composting Toilet For Your Off-Grid Adventures?
Natures Head – Installation Manual and User’s Guide
How is Nomad by OGO™ Using the Layering Method to Transform Camping Toilets
What is in your Nature’s Head composting toilet box?
Related Products

80L Bio-Bags (Roll of 20)


BioStreme 111F – Foaming Odour Neutralizer


BioStreme 201 – Micro-nutrient Odour Control

Coir Peat Brick

Compost Toilet Cleaner and Stimulator
Extra 1.5m Venting Hose

HydroFoamer Sprayer – 2.8L


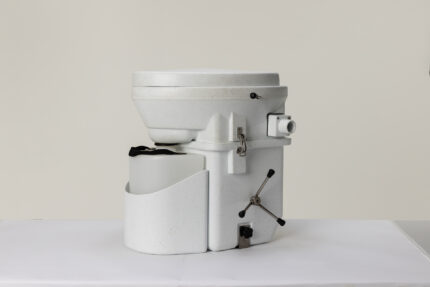

Nature’s Head Composting Toilet