Resources
How to Add an Extra LED Light to Your OGO™ ORIGIN Compost Toilet
Whether it’s for added visibility or personal customization, adding an extra 12V LED to your OGO™ ORIGIN is totally doable—and doesn’t require advanced electrical skills.
What You’ll Need
-
A 12V-rated LED light (any small unit will work)
-
Extra wire (enough to run from inside the base to your LED mount point)
-
WAGO clips or wire splicing tools
-
A 3-pin wire connector (optional, for cleaner connections)
-
Screwdriver and zip ties (for wire routing)
Step 1: Prep Your LED and Wiring
-
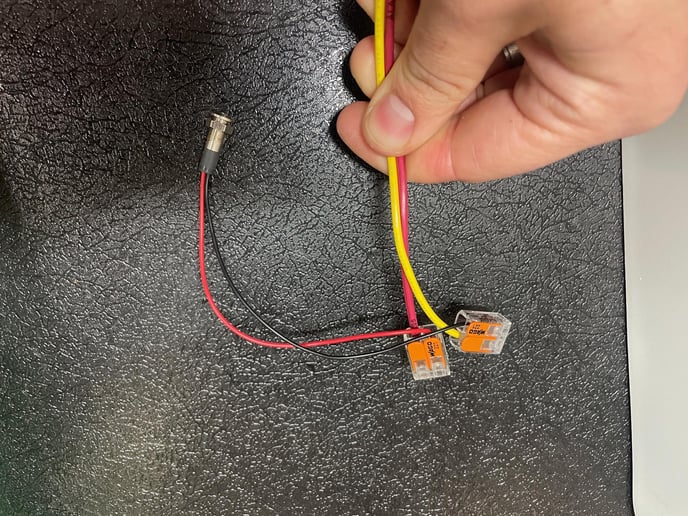
Grab your 12V LED and some additional wire.
-
Splice the wire to the LED—make sure the leads are secure.
-
Use WAGO clips (available at most hardware stores) to prep the connection ends.
-
Leave enough length in the wire to route from the bottom of the toilet to wherever you plan to mount the LED—inside or outside the unit.
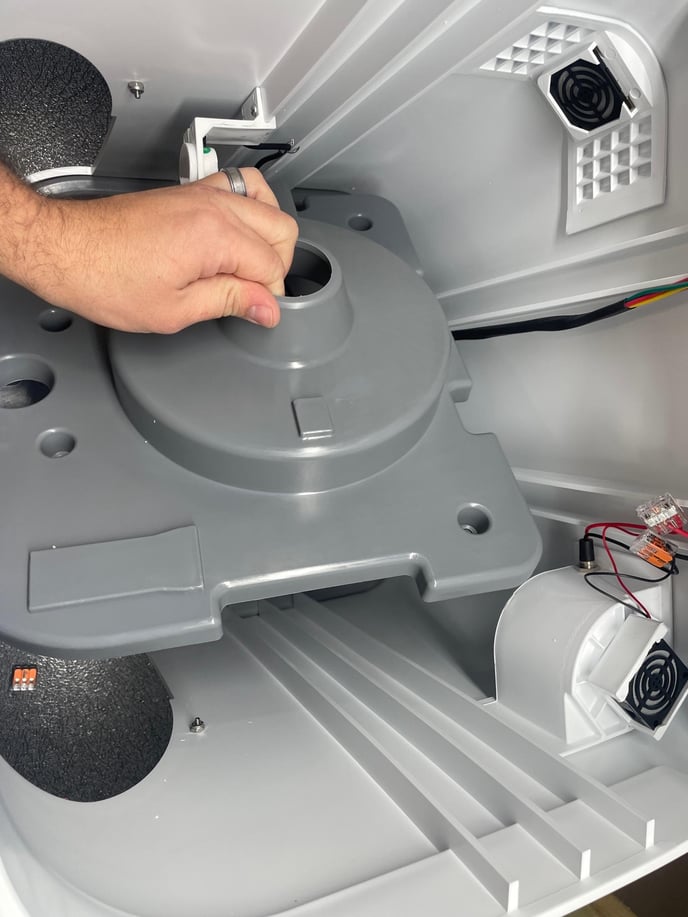
Step 2: Remove the Base Cone Insert
-
Locate and remove the base cone insert on the toilet.
-
If your unit has mount screws, remove those too.
-
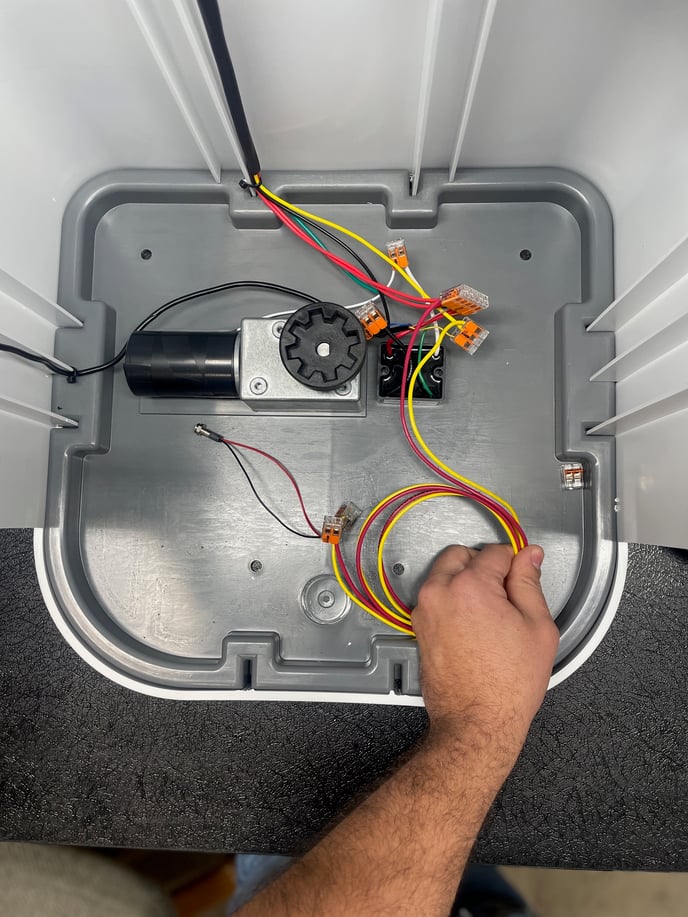
Underneath the insert, you’ll find a cluster of wires—this is your access point.
Step 3: Locate the Yellow Wire Cluster
-
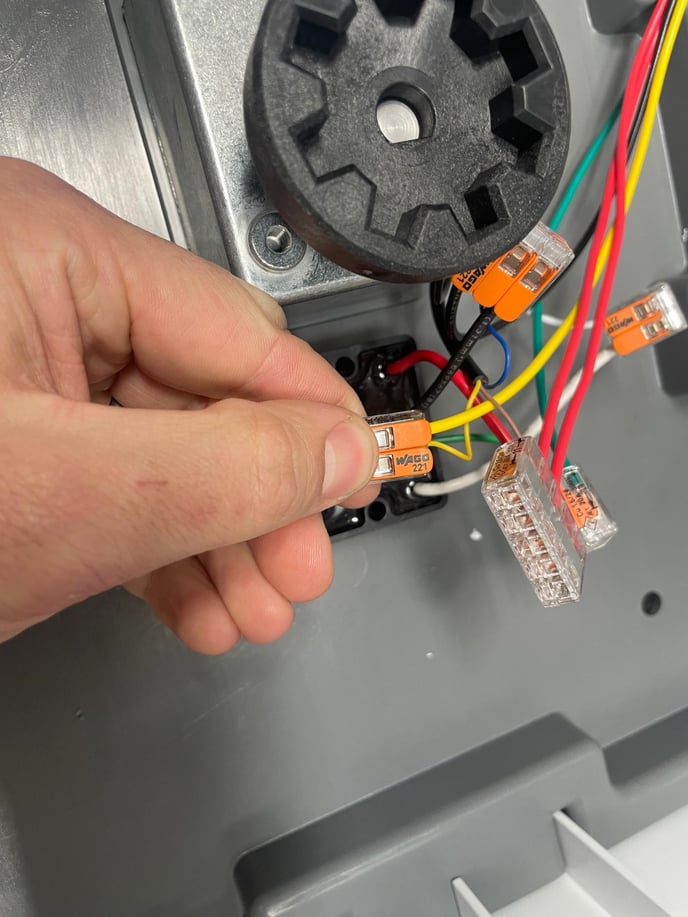
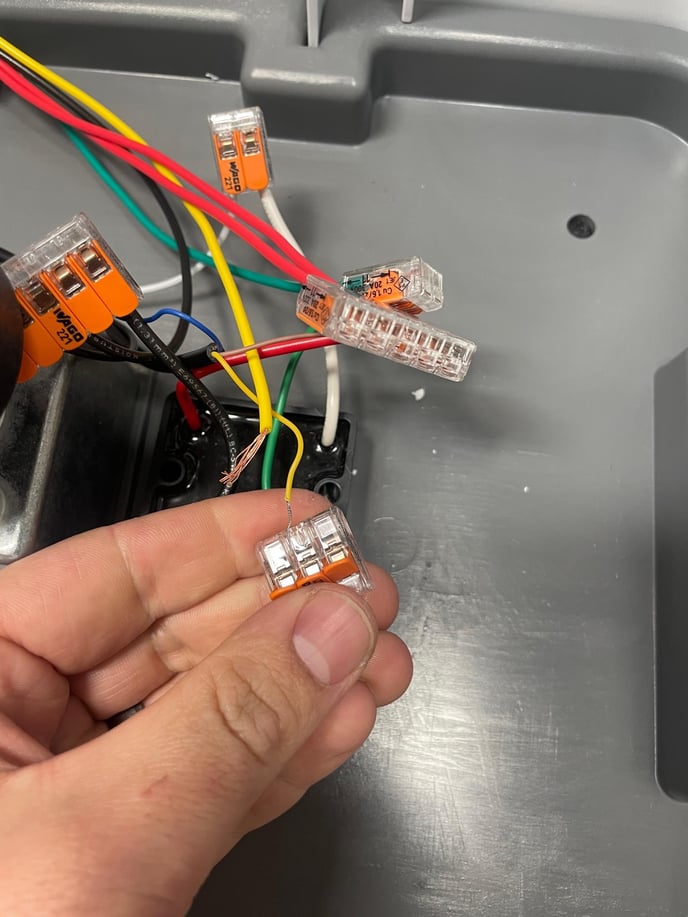
Inside the wire cluster, find the two yellow wires joined together—this is your low-voltage trigger line.
-
Use a 3-pin wire connector to replace the existing 2-pin connector (optional but cleaner).
-
Plug the yellow wire from your LED setup into the third port of this connector or WAGO clip.
Step 4: Connect Power to the LED
-
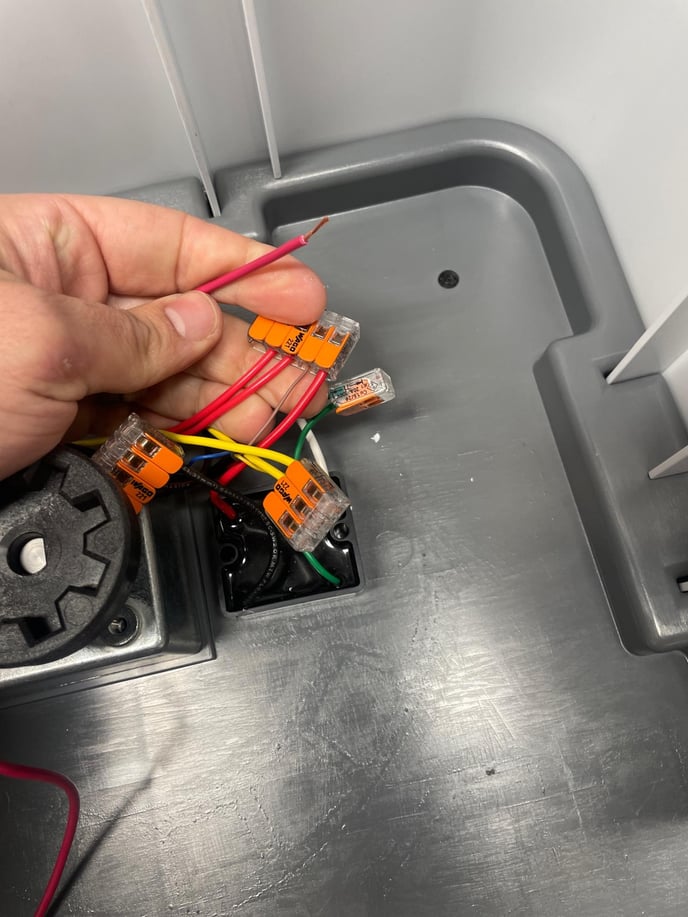
Take the red (positive) wire from your LED and connect it to the 5-pin red wire cluster.
-
This cluster usually has an open slot available—no need to modify anything.
-
You’re now connected to both power and signal.
Step 5: Test Your LED
-
Hold your thumb in front of the urine sensor.
-
Your new LED should light up when the sensor is triggered, and turn off when your thumb is removed.
-
If it doesn’t respond, re-check your connections and polarity.
 Step 6: Reinstall and Route Wires
-
Reinstall the base cone insert.
-
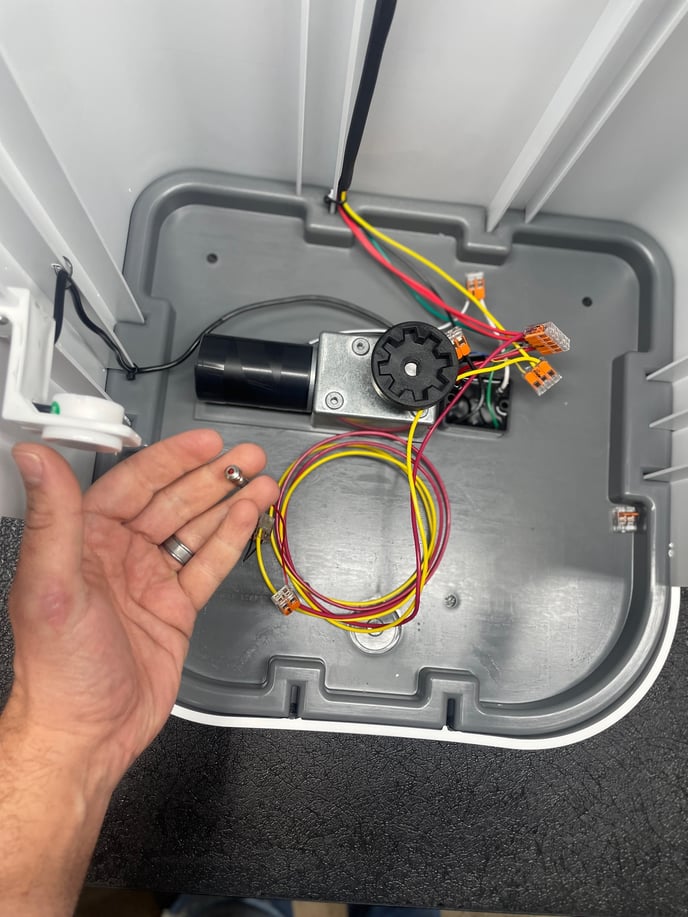
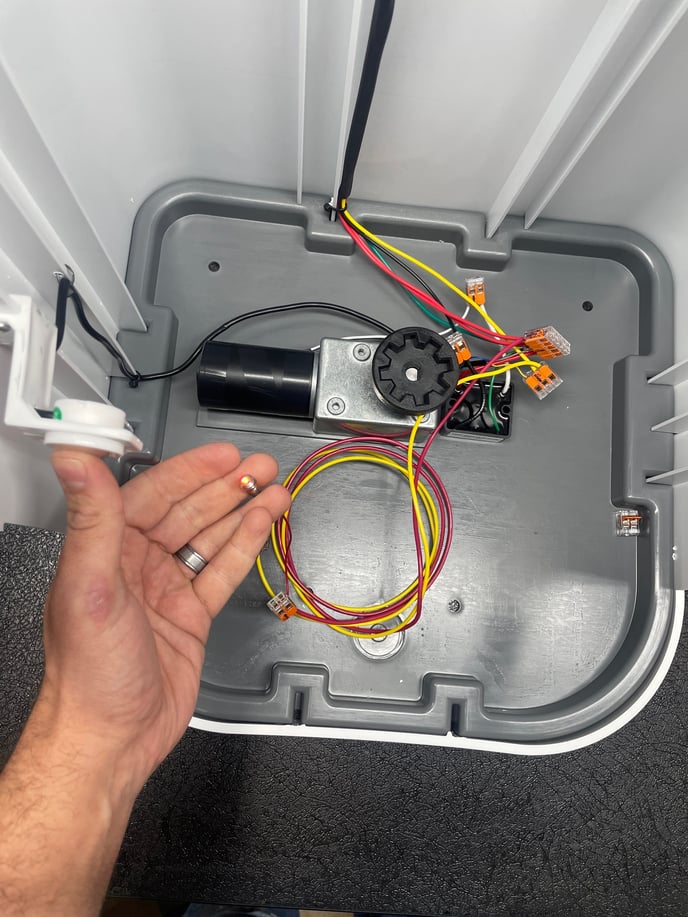
Make sure your wires are routed around the internal ribs to prevent pinching—this keeps the insert flush.
-
Use zip ties to cleanly secure your new wire alongside the existing harness.
Tip: There’s a convenient gap in the back corner of the unit where you can route the wire externally if needed. You can also drill a clean hole in the side panel to mount your LED directly into the plastic housing.
You’re All Set
You’ve now added a custom LED light to your OGO™ ORIGIN—and tied it cleanly into the system. Whether it’s for nighttime use or extra style points, your setup just got brighter.
Related Articles

Melbourne Caravan and Camping Leisurefest 2026

CMCA 39th Annual National Rally

Let’a Go Sunshine Coast Caravan and Outdoor Expo 2026

Coffs Harbour Outdoor Living & Caravan Expo
How to Replace Agitator Cog in OGO Origin Solids Bin (Post August 2025)
How to Handle Urine Waste
Natures Head Weekender – Installation Manual and User’s Guide
Can I Use Anything Other Than Coco Coir in a Compost Toilet
Can I vent into the Existing Black Tank Vent
OGO Origin – Installation Manual and User’s Guide
Why Choose a Composting Toilet For Your Off-Grid Adventures?
Natures Head – Installation Manual and User’s Guide
Related Products

80L Bio-Bags (Roll of 20)


BioStreme 111F – Foaming Odour Neutralizer


BioStreme 201 – Micro-nutrient Odour Control
An engineered micronutrient blend specifically designed to enhance microbial activity of wastewater treatment processes.Stimulates growth and reporduction of beneficial non-odour producing facultative bacteria in a cost-effective manner. It reduces bacterial stress and generation of odours from a variety of wastewaters, including Leachate Lagoons and Holding tanks.

Coir Peat Brick
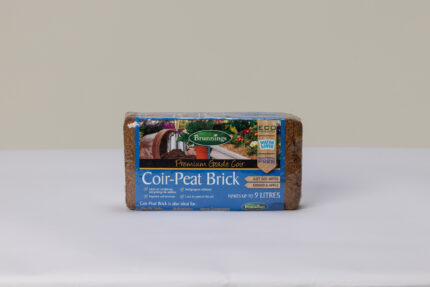
Used in the Nature's Head and OGO™ toilet to aid in the composting process.
Learn more about this process in our article about Using The Solids Bin.

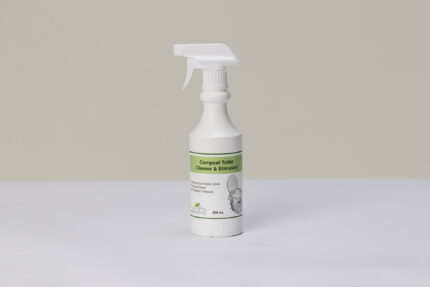
Compost Toilet Cleaner and Stimulator

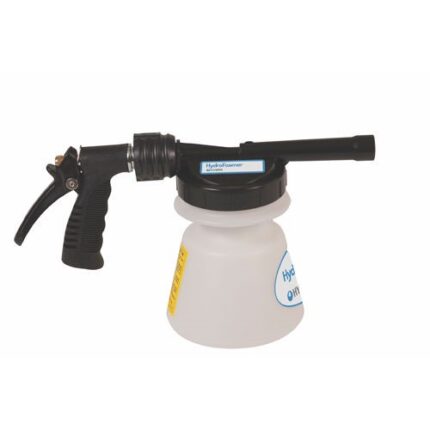
HydroFoamer Sprayer – 2.8L